Initial idea
My initial idea, modeled in 3D. Drag to rotate and scroll to zoom.

I'm a senior, class of 2027, planning to study mechanical engineering. I lead one of my school's VEX robotics teams and build my own robots at home.
Outside of robotics, I'm captain of my tennis and cross country teams, president of our History Club, and I play piano. I could rant the entire night about how WWII planes were engineered. Last summer I was a STEM classroom aide, teaching robotics to elementary and middle school kids.
I first got into building around third grade, creating imaginary train stations and airports out of Jenga blocks. I enjoyed that a lot more than following Lego instruction sets.
In a future of advanced autonomous systems, there will still need to be engineers who build the body that the AI mind can then control.
My VEX robots were built in our school robotics lab. My independent projects were built in my bedroom with a few hand tools, a drill and a 3D printer. I mostly learned from hours of trial and error.
Four robots I designed, built and coded, two at home on my own and two as a VEX team lead. I'm applying to study mechanical engineering.
Built alone at home, June 2026 to now. Still in progress.
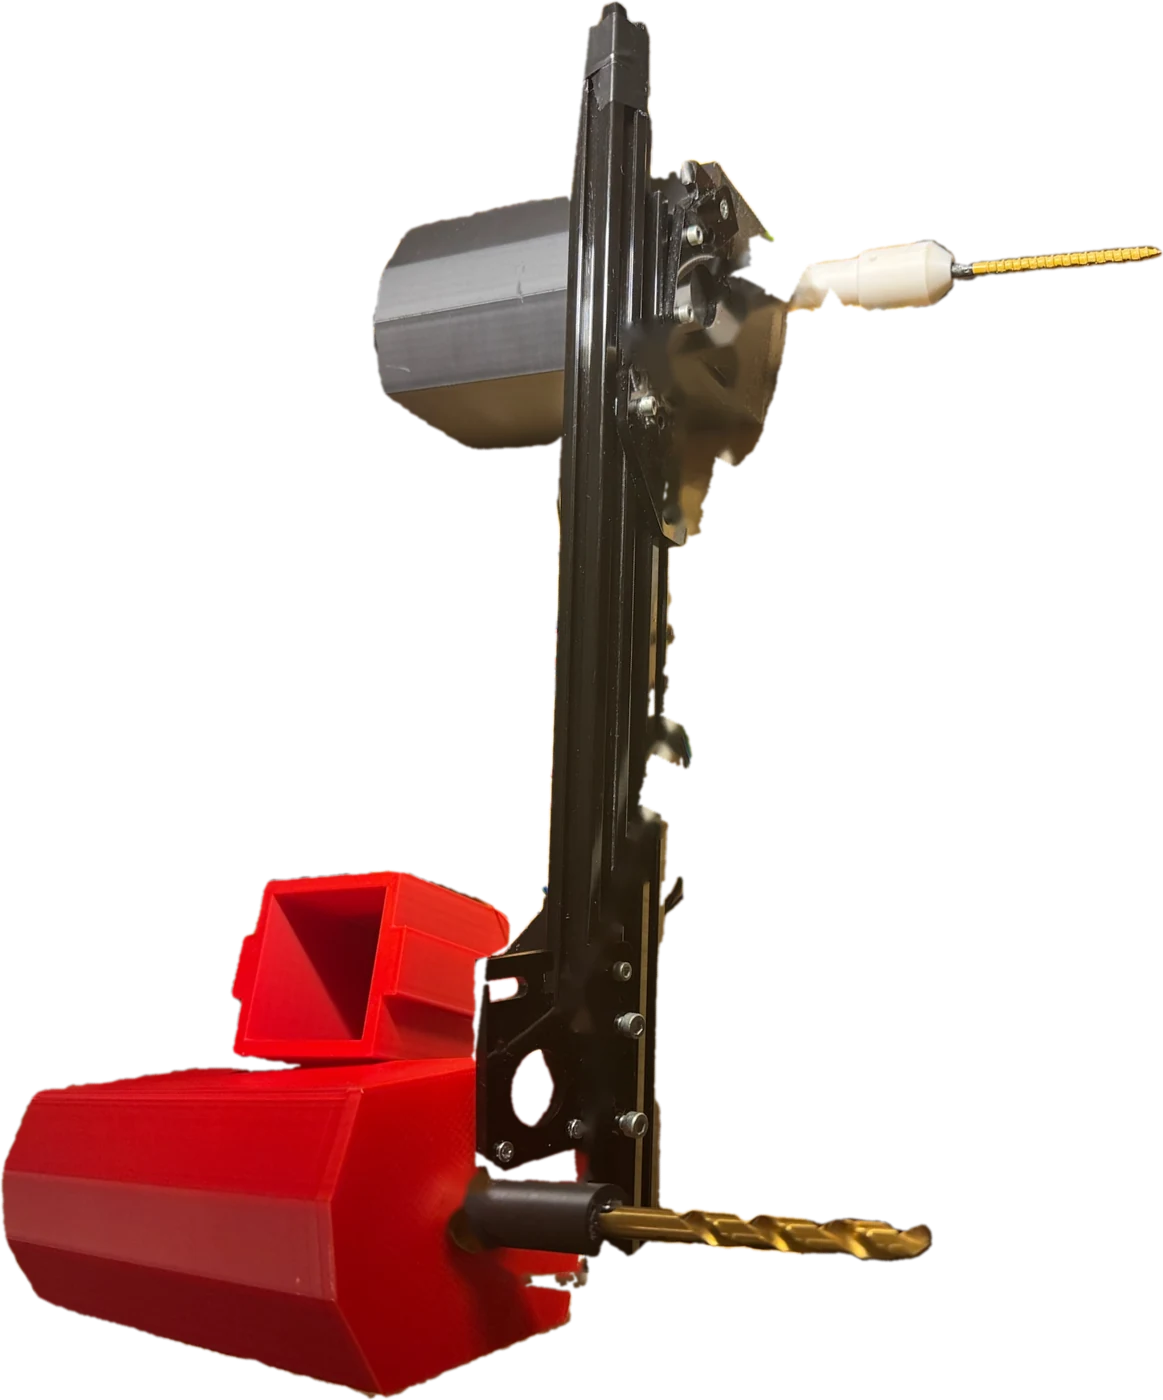
Lumberjacking is one of the most dangerous occupations in the U.S., so I set out to build a robot that could climb a tree and cut it down, as cheap and simple as possible.
Most of the frame came from my old 3D printer. Two stepper motors both drill into the tree and run the cascade lift that pulls the robot up.
My initial idea, modeled in 3D. Drag to rotate and scroll to zoom.
My original CAD, built mostly from VEX parts.
I took apart my old 3D printer and used its frame and electronics. The first tests ran on a cardboard rig.
To get the functionality I wanted, I designed my own motor housings and guide rails in Onshape and printed them.
The printed motor housing barely held the load of the lift, so I designed a support that spreads the load onto the lift's metal bars.
The steppers didn't have enough torque to drill and lift at the same time, so I added a 10:1 reduction gearbox.
My 3D-printed gearbox shredded its teeth. The one I bought online added weight, but it is the one I kept.
The last failure point was the string. The butcher's string kept snapping because it is designed not to stretch.
June 21: testing the string on the lift.
After a few hours a day for the first half of my summer, I had a functioning prototype that drills into and slowly climbs trees with the click of a button.
The project is still in progress, just not at the same speed as during the summer.
It can slowly drill into the tree and pull itself up a couple of feet.
Add two brushless DC motors as drills, so the steppers only push the drills in and run the lift.
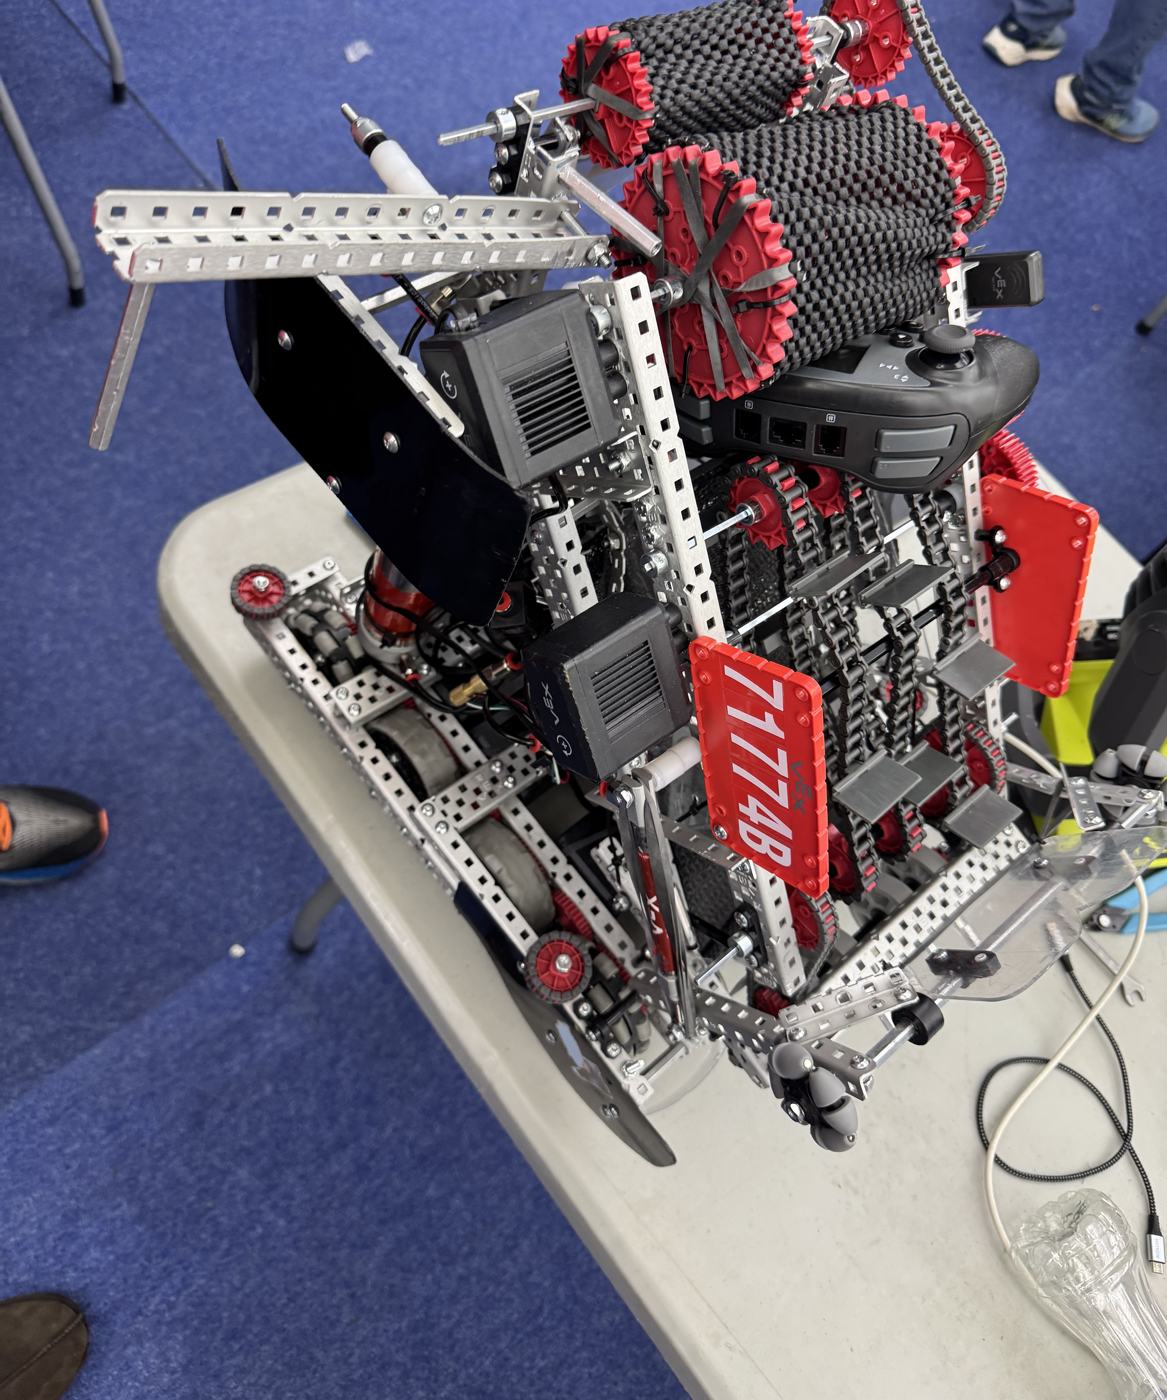
Team lead of 71774B, school lab, September 2025 to March 2026.
I was one of the first members of my school's new VEX team. As a first-year program, we qualified for States and had a high-scoring skills run there.
We built one robot and then went through two major redesigns before States.
Sketches from our first meeting, a mix of my own and my teammates' ideas.
Built in a rush for a scrimmage, it was a straight metal ramp from a flexwheel intake to the scoring end, guided by rubber-band rollers.
Driving version 1 in our lab.
It couldn't hold more than a few objects, and cycles were slow.
We rebuilt the top half into an S-shaped path, with a pistonized scoring section that could score in both the long and middle goals.
But objects kept jamming at the top, and long-goal scoring was slow.
Testing the intake and scoring with the S-shaped robot in our lab.
After our December competition we did a full rebuild, adding an extra wheel on each side for traction.
We went back to a straight path, with a rubber-band (later mesh) ramp and silicone flaps to carry objects up. A mesh roller with a plastic hood that opens and closes switched between intake and scoring.
Distance-sensor resets and an inertial sensor let the autonomous routine know the robot's exact position on the field.
We qualified for States and had a high-scoring skills run.
The final robot running its autonomous routine, the day before States.
School lab, April 2026 to now. I lead all design, building and coding.
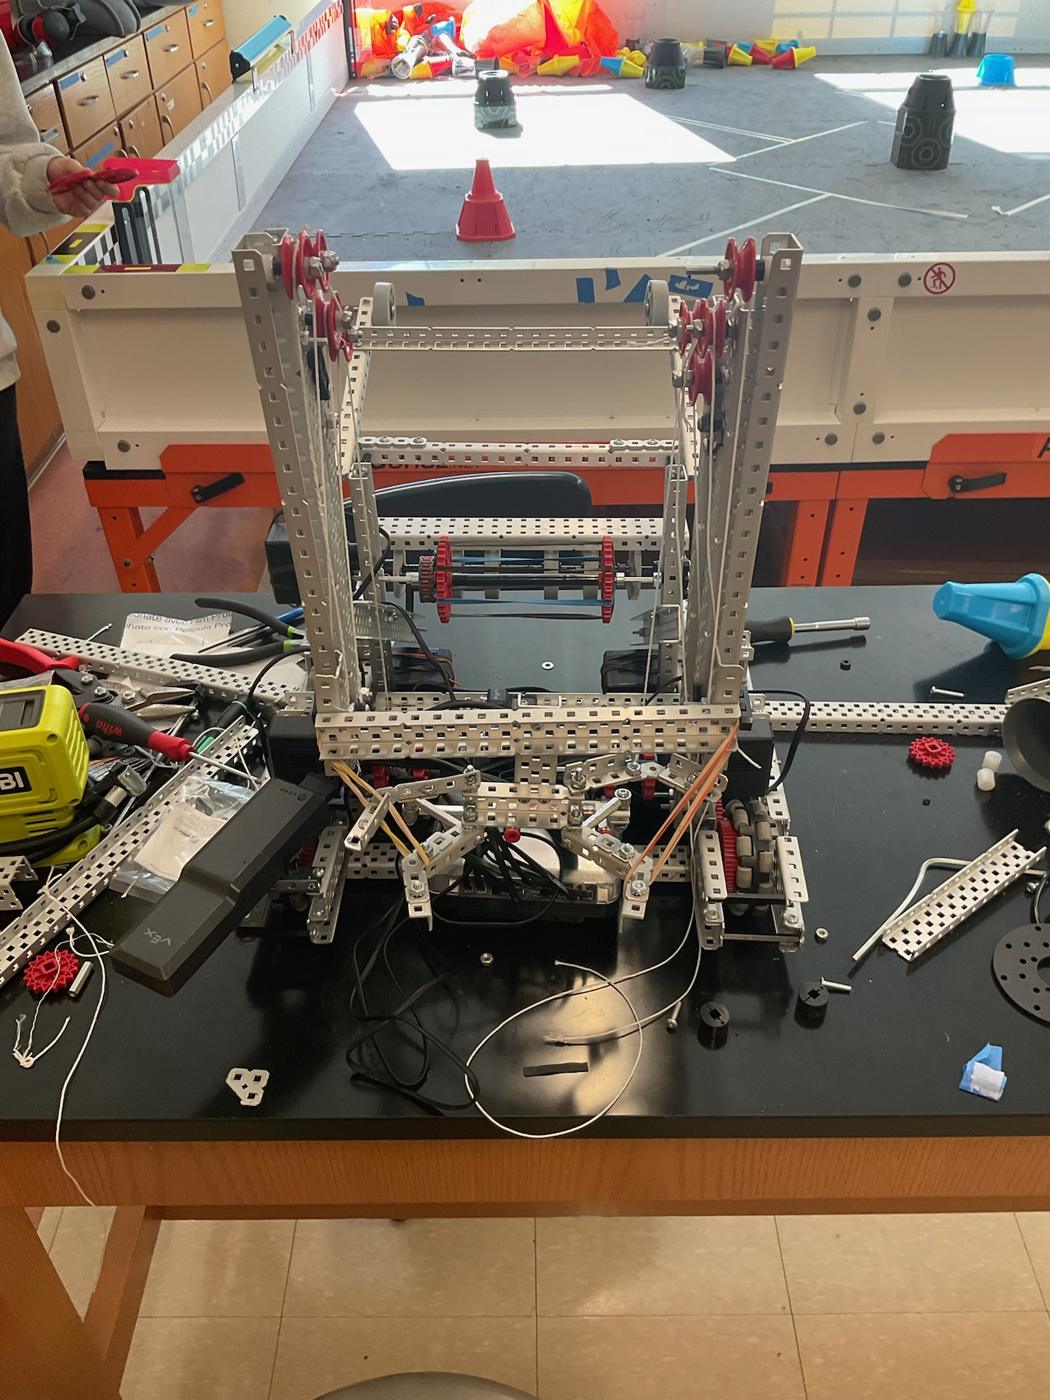
This year's game is called Override. The goal is to stack pins and cups to score points.
My initial prototype used a double reverse four-bar lift mechanism with a claw.
Testing the double reverse four-bar lift, stacking on the field and driving it with the lift raised.
After the summer, my tree-climbing robot inspired me to switch to a cascade lift mechanism.
Cascade lift running.
Built alone at home over spring break, March 2026.
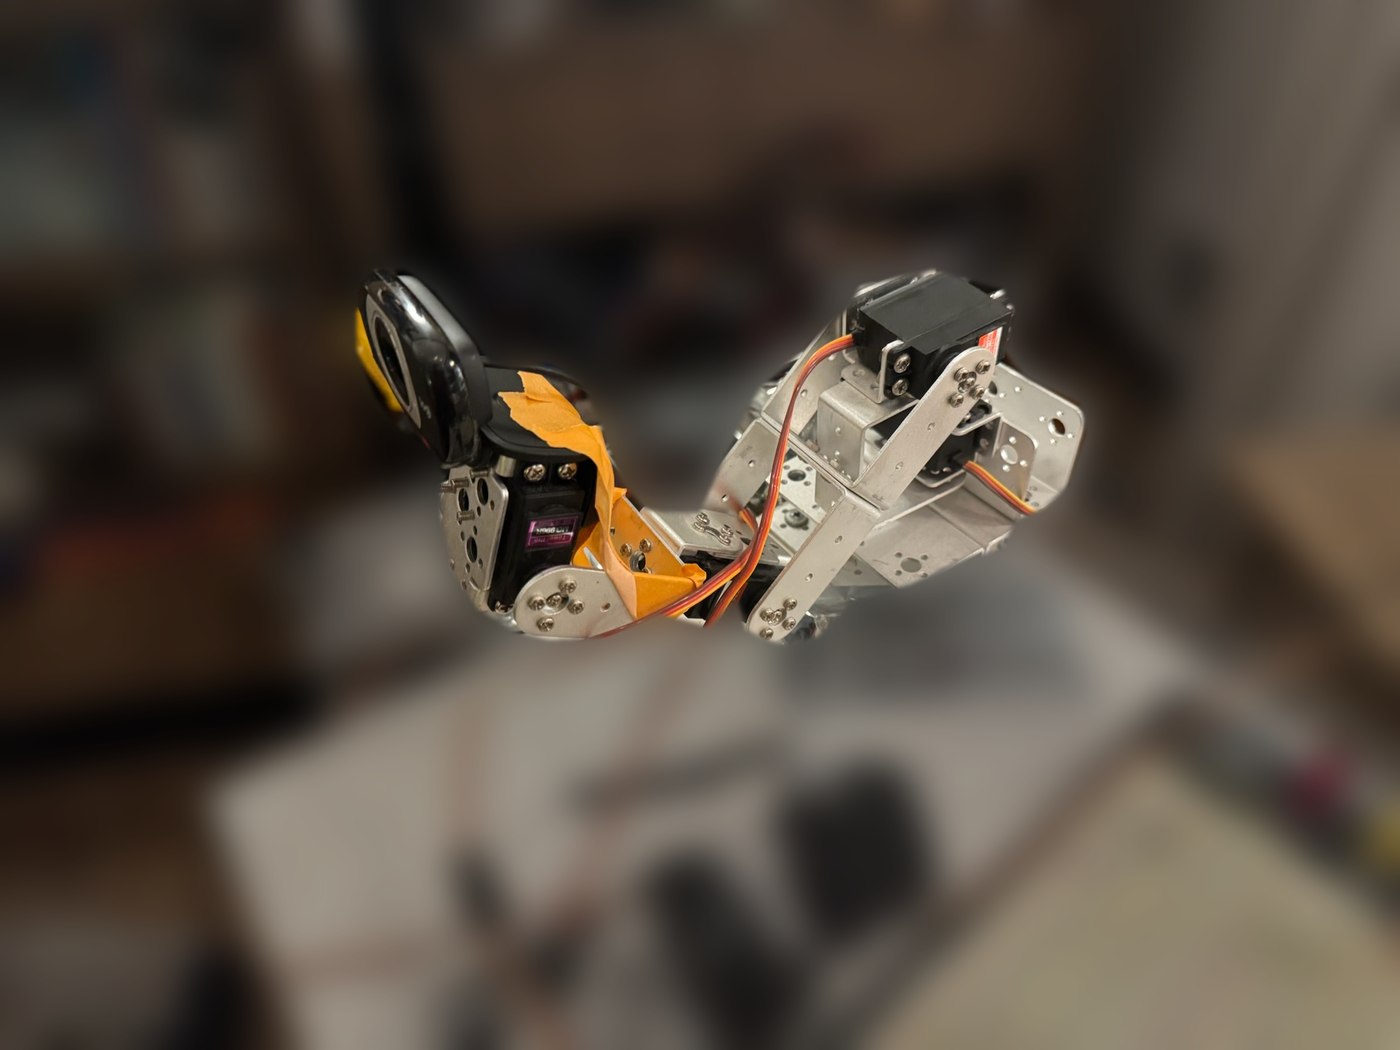
My brother gifted me a robotic arm kit when I was younger. I remember typing "up" into the Arduino IDE and running the command; of course, the only result was an error message.
Over spring break 2026 I mounted my old webcam on it to build an object-tracking system.
OpenCV on my laptop finds the object and sends commands over USB to an Arduino Uno, which drives the servos through a PCA9685.
Tuning the PID was the hardest part. The arm would overshoot while centering, lose the object from the frame and never find it again.
Fix. I added a dead zone in the center of the frame, so the arm stops once the object is close enough.
The arm following my hand around the desk.
It can track any given object no matter its location or movement and can maintain that lock indefinitely.
A light water hose to simulate putting out a fire, giving the arm a real-world use.